Address: 300 Dixie Trail, Goldsboro, NC 27530
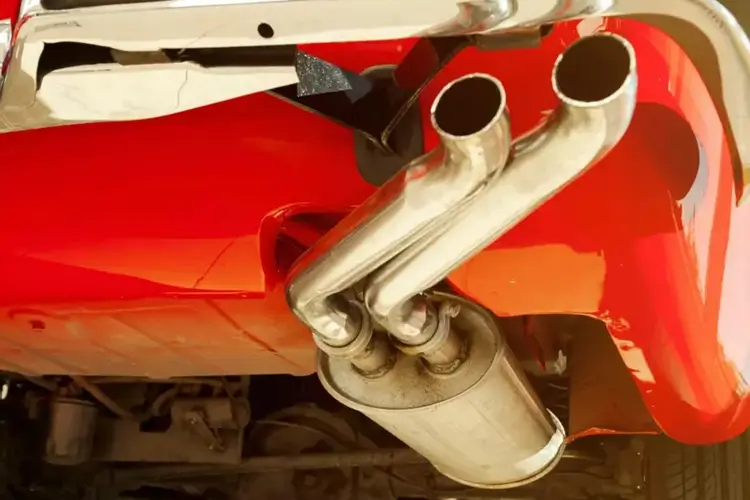
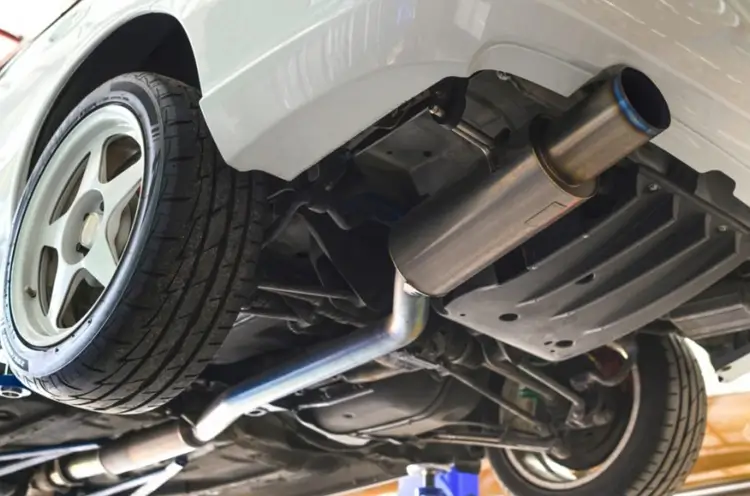
Upgrading your vehicle’s exhaust system can enhance its performance, sound, and appearance. While the task might seem daunting, a DIY installation can be rewarding and straightforward with the right tools and guidance. Here’s a step-by-step guide to help you upgrade your exhaust system.
Tools and Materials Needed
- New Exhaust System Components: Muffler, catalytic converter, exhaust tips, etc.
- Safety Gear: Gloves, safety glasses, and ear protection.
- Jack and Jack Stands: To safely lift and support your vehicle.
- Wrenches and Sockets: These are used to remove and install bolts.
- Hacksaw or Exhaust Pipe Cutter: This is used to cut pipes if necessary.
- Lubricant: To loosen rusted or stuck bolts.
- Exhaust Hangers and Clamps: To secure the new exhaust system.
- Anti-Seize Compound: To prevent bolts from seizing in the future.
Step-by-Step Installation Guide
Preparation:
- Park your vehicle on a flat surface and engage the parking brake.
- Allow the exhaust system to cool down completely to avoid burns.
- Lift the car using a jack and secure it with jack stands.
Remove the Old Exhaust System:
- Locate the exhaust components you’ll be replacing.
- Apply lubricant to bolts and connections to loosen them.
- Use wrenches and sockets to remove the bolts securing the exhaust system.
- Carefully remove the old exhaust components, supporting them to prevent damage.
Prepare the New Exhaust System:
- Compare the new components with the old ones to ensure proper fitment.
- If necessary, use a hacksaw or pipe cutter to adjust the length of the new pipes.
- Apply anti-seize compound to the bolts to make future removal easier.
Install the New Exhaust System:
- Begin with the catalytic converter if you’re replacing it. Secure it in place with new gaskets and bolts.
- Attach the new muffler to the catalytic converter, ensuring all connections are tight and secure.
- Install the exhaust pipes, ensuring proper alignment and clearance from other components.
- Secure the exhaust system with new hangers and clamps, ensuring no excessive movement or vibration.
Check for Leaks:
- Lower the vehicle and start the engine.
- Listen for any exhaust leaks, which may sound like hissing or tapping.
- If leaks are detected, tighten the connections and ensure gaskets are correctly seated.
Final Adjustments:
- Once the system is leak-free, double-check all bolts and hangers for tightness.
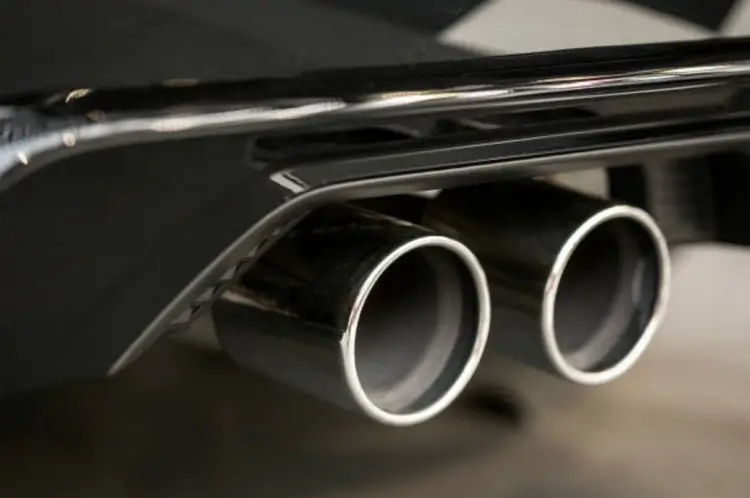
- Ensure the exhaust tips are aligned correctly and not touching any body panels.
Upgrading your vehicle’s exhaust system can significantly enhance its performance and sound. With the right tools and this step-by-step guide, a DIY installation can be a rewarding project that saves money and gives you a deeper understanding of your vehicle’s mechanics. Enjoy the improved performance and the satisfaction of a job well done!


